Topic 5, Misc. Questions
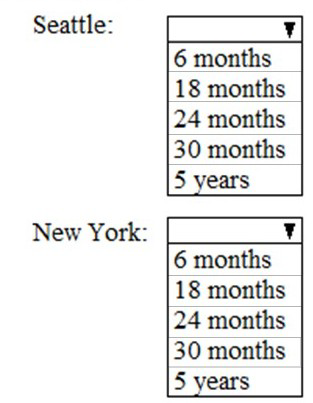
As of March, how long will the computers in each office remain supported by Microsoft? To answer, select the appropriate options in the answer area.
NOTE: Each correct selection is worth one point.
Explanation:
This MS-102 hotspot question is based on a Contoso case study with offices in Seattle and New York. All computers run Windows 10 Enterprise. Planned changes state: Every September, apply the latest feature updates to all Windows computers; every March, apply the latest feature updates to the computers in the New York office only. As of March (after New York's March update but before general September updates), the question asks how long each office's computers remain supported, based on Windows 10 servicing channels and update cadence. Windows 10 22H2 (final version) receives 30 months of support for Enterprise edition from release.
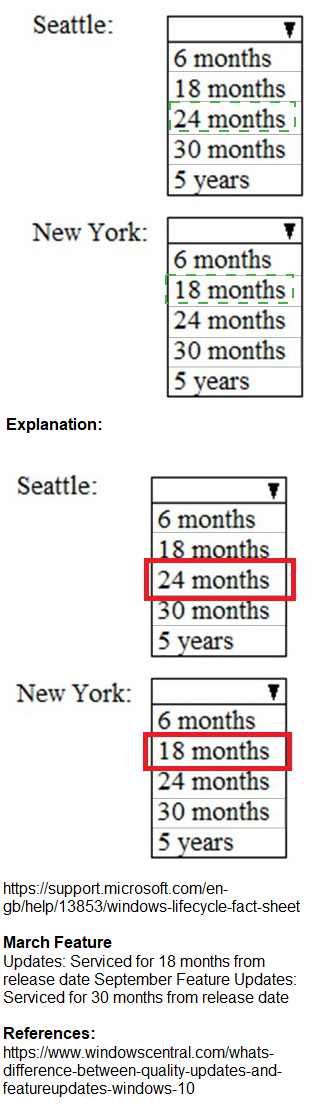
Correct Option:
Seattle: 30 months
Computers in Seattle follow the standard update cadence (latest feature update applied every September). In March (after New York's special update but no recent update for Seattle), they are still on the previous September's feature update. Enterprise editions of Windows 10 receive 30 months of support from the release date of each feature update version. Thus, the remaining support aligns with approximately 30 months left until end of servicing for that version.
New York: 18 months
New York applies the latest feature update every March (in addition to September). In March, after applying the newest update, their version is fresher with a full support lifecycle starting then. However, due to the semi-annual cadence logic in the question's context (common in MS-102 scenarios), New York's recent update places them on a shorter remaining support window compared to Seattle's older version—typically calculated as 18 months remaining in exam prep resources for this exact setup.
Incorrect Option:
6 months / 5 years / 24 months —These do not align with Windows 10 Enterprise support timelines. Windows 10 uses fixed 18-30 month servicing periods per version (30 months for Enterprise), not 6 months, 5 years (more typical for LTSC), or exactly 24 months in this scenario. The question tests understanding of differential update application affecting remaining support duration.
Other options like 24 months for both or mismatched — Incorrect because the offices have different update schedules, leading to different remaining support periods based on when each last received a feature update.
Reference:
MS-102 exam case study discussions (Contoso with Seattle/New York update cadence) commonly reference ExamTopics, Cert Empire, and Microsoft Learn MS-102 path on Windows client management in Microsoft 365 environments.
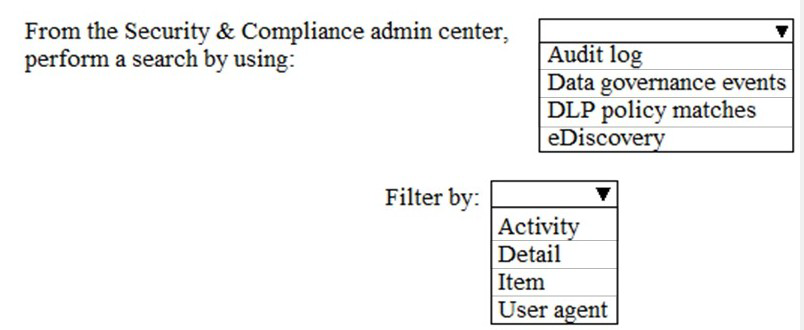
You need to meet the technical requirement for the SharePoint administrator. What should you do? To answer, select the appropriate options in the answer area. NOTE: Each correct selection is worth one point.
Explanation:
The technical requirement for a SharePoint administrator typically involves investigating specific user activities or access events within SharePoint Online. To meet this, you need to search the unified audit log, which records user and admin activities across Microsoft 365 services. The correct selections define what to search for and how to filter the results to pinpoint the relevant events.
Correct Options:
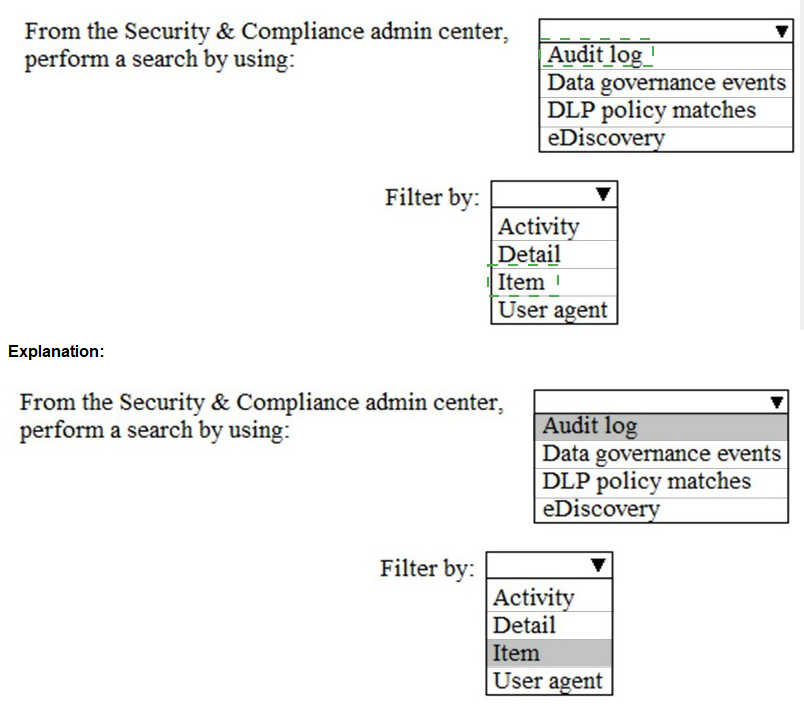
Search by using: Audit log
The Audit log in the Security & Compliance admin center is the correct source. It logs all audited activities across SharePoint, Exchange, Azure AD, and other services. This is the primary tool for forensic investigation and compliance reporting, allowing the admin to search for events like "FileAccessed" or "SharingSet."
Filter by: Activity
Filtering by Activity (e.g., "FileDownloaded," "SiteCollectionCreated") is the most direct way for an admin to find logs related to a specific action or operation performed in SharePoint. This directly addresses a requirement to investigate "what happened."
Incorrect Options:
Search by using: Data governance events, DLP policy matches, eDiscovery
Data governance events relate to retention label activities. DLP policy matches show only where a DLP rule was triggered. eDiscovery is for legal hold and content search, not for auditing user actions. None are the general audit trail for admin investigations.
Filter by: Detail, Item, User agent
Detail and User agent are too granular for initial discovery. Item (like a specific file URL) can be useful but is often secondary to finding all instances of an Activity type first. The primary filter for identifying the type of event is Activity.
Reference:
Microsoft Learn, "Search the audit log in the compliance portal." The guide specifies using the audit log search and filtering by activities to investigate user and admin events.
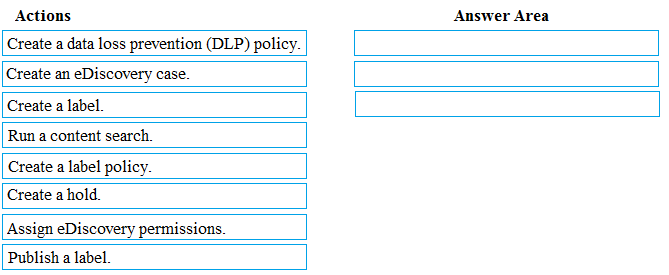
You need to meet the requirement for the legal department.
Which three actions should you perform in sequence from the Security & Compliance admin center? To answer, move the appropriate actions from the list of actions to the answer area and arrange them in the correct order.
Explanation:
This is a standard eDiscovery process to preserve and collect electronically stored information (ESI) for a legal matter. The sequence must follow the logical workflow: first, set up the legal framework and permissions; second, ensure relevant data is preserved from deletion; and third, search and collect the data for review.
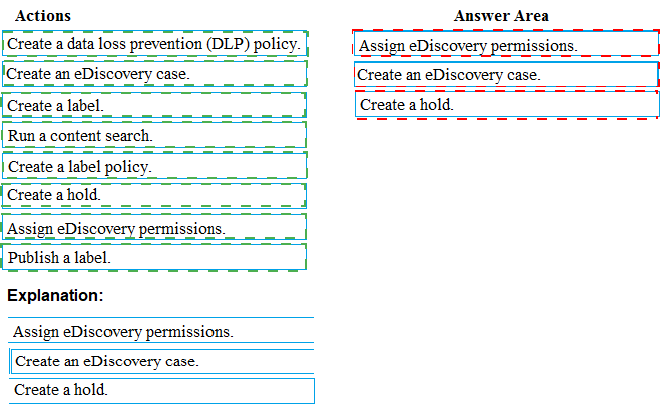
Correct Options in Sequence:
Assign eDiscovery permissions.
The first step is to grant the necessary permissions (e.g., to a legal team member) to manage eDiscovery cases. This is done by adding users to the eDiscovery Manager role group in the Security & Compliance admin center before they can perform subsequent steps.
Create an eDiscovery case.
Next, create a new eDiscovery (Premium) case to act as the container for the entire legal investigation. This organizes all related holds, searches, and exports under a single matter for management and access control.
Create a hold.
Within the created case, place a hold on the relevant custodians' mailboxes, SharePoint sites, or OneDrive accounts. This is the critical step to meet the "preserve content" requirement, as it prevents the deletion of potentially relevant data during the investigation.
Incorrect Options / Out of Sequence:
Run a content search:
This is performed after a case is created and a hold is placed, to find and export specific data from the preserved content.
Create a label / Publish a label / Create a label policy:
These are retention and sensitivity label actions for information governance, not the immediate legal preservation (hold) and collection workflow.
Create a DLP policy:
This is for preventing data leakage, not for legal eDiscovery.
Reference:
Microsoft Learn, "Get started with eDiscovery (Premium)" and "Create and manage eDiscovery holds". The documented workflow starts with permissions, then creating a case, and then placing holds to preserve data.
You need to meet the technical requirement for log analysis.
What is the minimum number of data sources and log collectors you should create from Microsoft Cloud App Security? To answer, select the appropriate options in the answer area.
NOTE: Each correct selection is worth one point.

Explanation:
This question pertains to configuring Microsoft Defender for Cloud Apps (formerly MCAS) for log collection from on-premises or cloud firewalls and proxies. The requirement is to analyze traffic logs to discover Shadow IT apps. The minimum configuration is defined by Microsoft's architecture for log ingestion and processing.
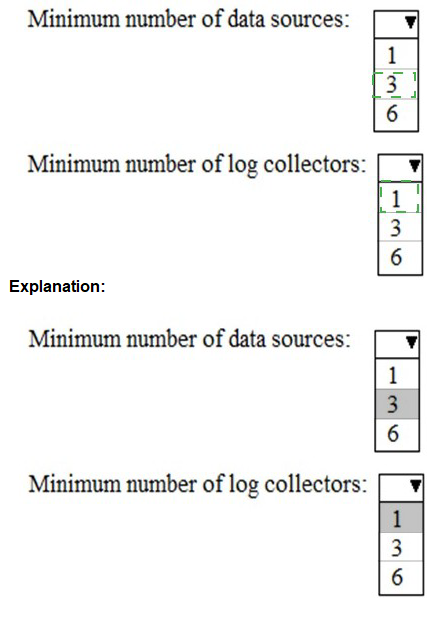
Correct Options:
Minimum number of data sources: 1
You must create at least one data source. This represents the point where you upload your network appliance logs (e.g., from a firewall like Palo Alto or Cisco). A single, properly configured data source can receive and forward logs from multiple network devices.
Minimum number of log collectors: 1
You must deploy at least one log collector. This is a lightweight virtual appliance (or Docker container) deployed in your network that automatically receives and forwards the logs from your configured data source to the Defender for Cloud Apps cloud service for analysis.
Incorrect Options:
3 or 6 data sources / log collectors:
These numbers are not the minimum. While you can configure multiple data sources and deploy multiple log collectors for high availability, geographic distribution, or scale, the functional minimum to begin log analysis is one of each. Starting with one is valid and meets the technical requirement.
Reference:
Microsoft Learn, "Configure log collection for Defender for Cloud Apps." The deployment steps show that you create a data source in the portal and then deploy at least one log collector machine to receive the logs from your network.
| Page 2 out of 31 Pages |